OpenGL
2024-Current
C++, Rendering
This project main goal it to learn about OpenGL and the rendering pipeline. By following the excelent website learnopengl, I managed to quickly learn basics and go deeper into the subject.
Basics
After rendering the basic 2D triangle, I’ve developed a scene with two texturized rotating cubes.
In this step I’ve learned to:
- Render 3D objects.
- Add textures and apply RGB colors in objects.
- Apply the translation, rotation and scaling matrices.
- Camera movement.

Taken from a scene with two rotating cubes.
Ligthing
In this scene, I’ve implemented the Phong lighting model where we can clearly see the 3 types of lighting in action: ambient, diffuse and specular lighting. On top of that, I’ve recalled the necessary and relevant math topics such as vectors and matrices to be able to apply this model.
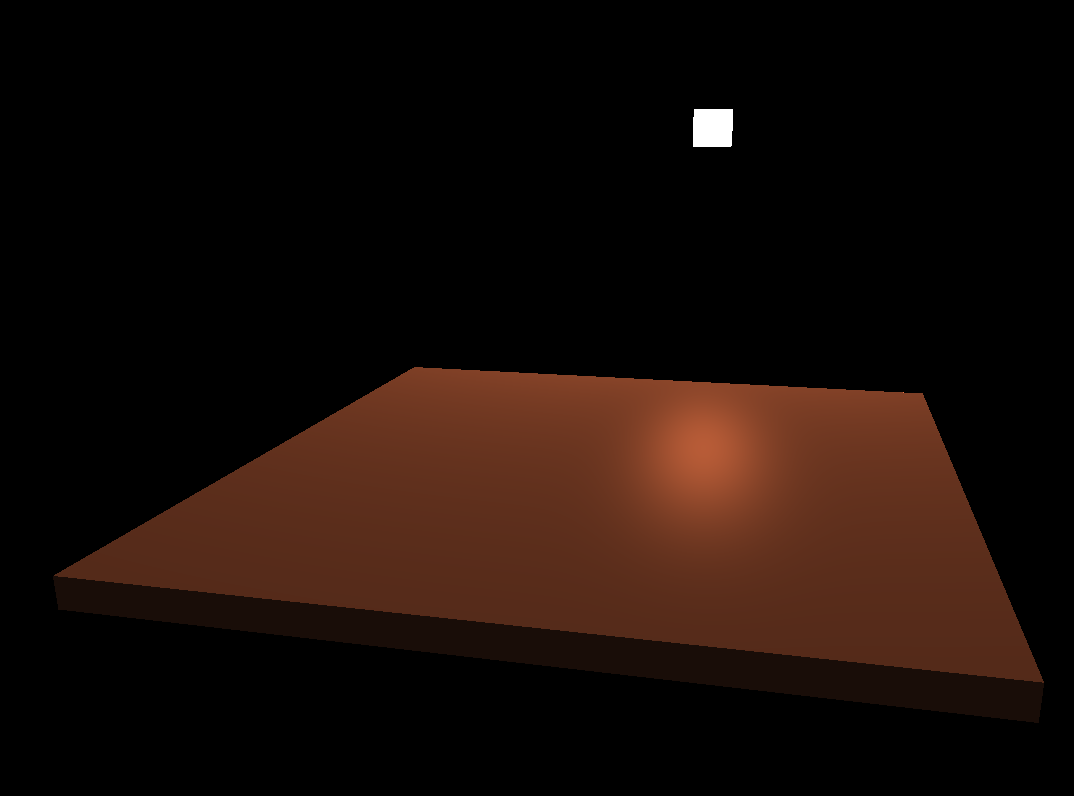
A light source and an object using the phong lighting model.
Model loading
This scene is very straightforward. I learned how .obj files worked on a higher level and implemented the necessary functions, with the help from a loading library to get some complex models into the scene. On this case, I used the classic Utah Teapot
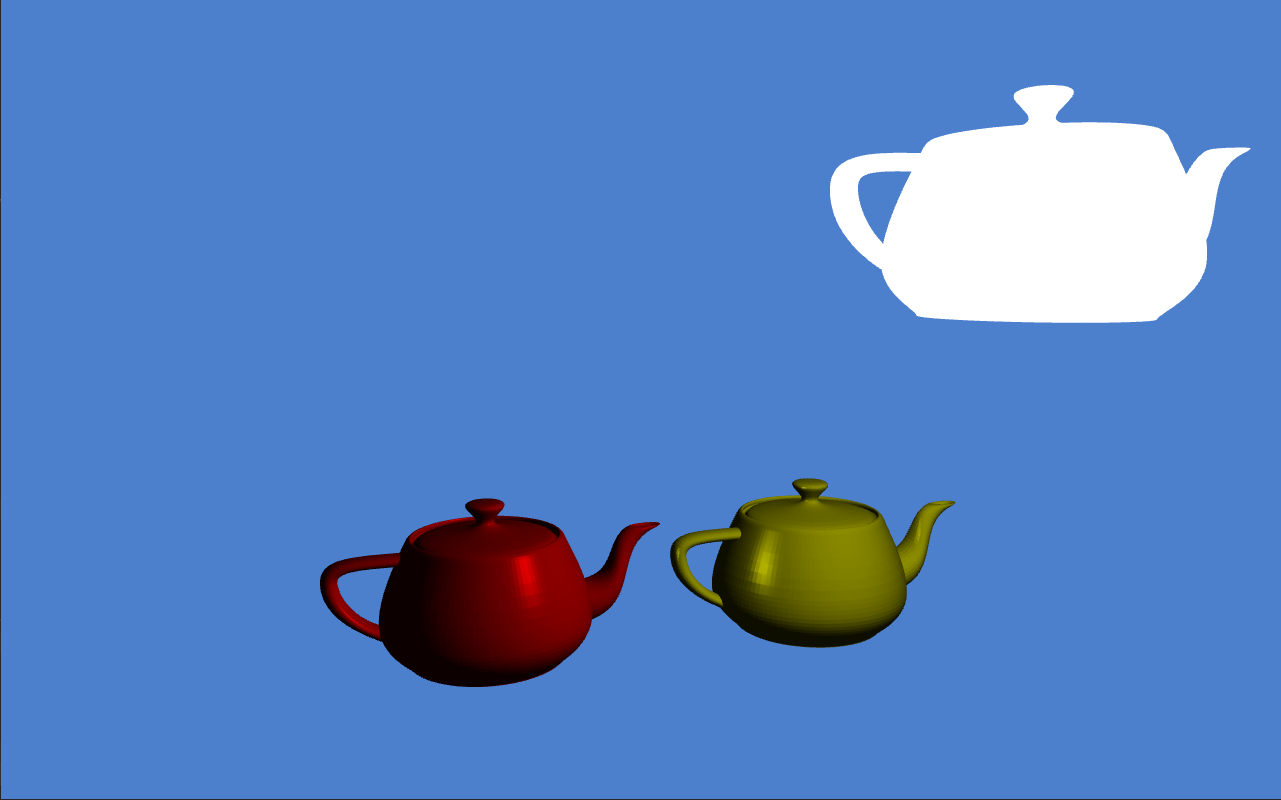
Three teapots loaded into the scene, each with a different fragment shader. One emissive and two diffuse.
Random Terrain Rendering
The next scene was more complex. Now that I had basic understanding on the Vertex and Fragment shaders, I decided to create a scene where the terrain would be randomized. The height of each vertex would be assigned, following a Perlin noise generator. Besides that, the scene would blend together textures depending on the given height value so it would give a more organic feel between grass, rock and snowy areas. The plane was created during runtime with a given size and number of vertices, allowing to choose the desired level of detail.
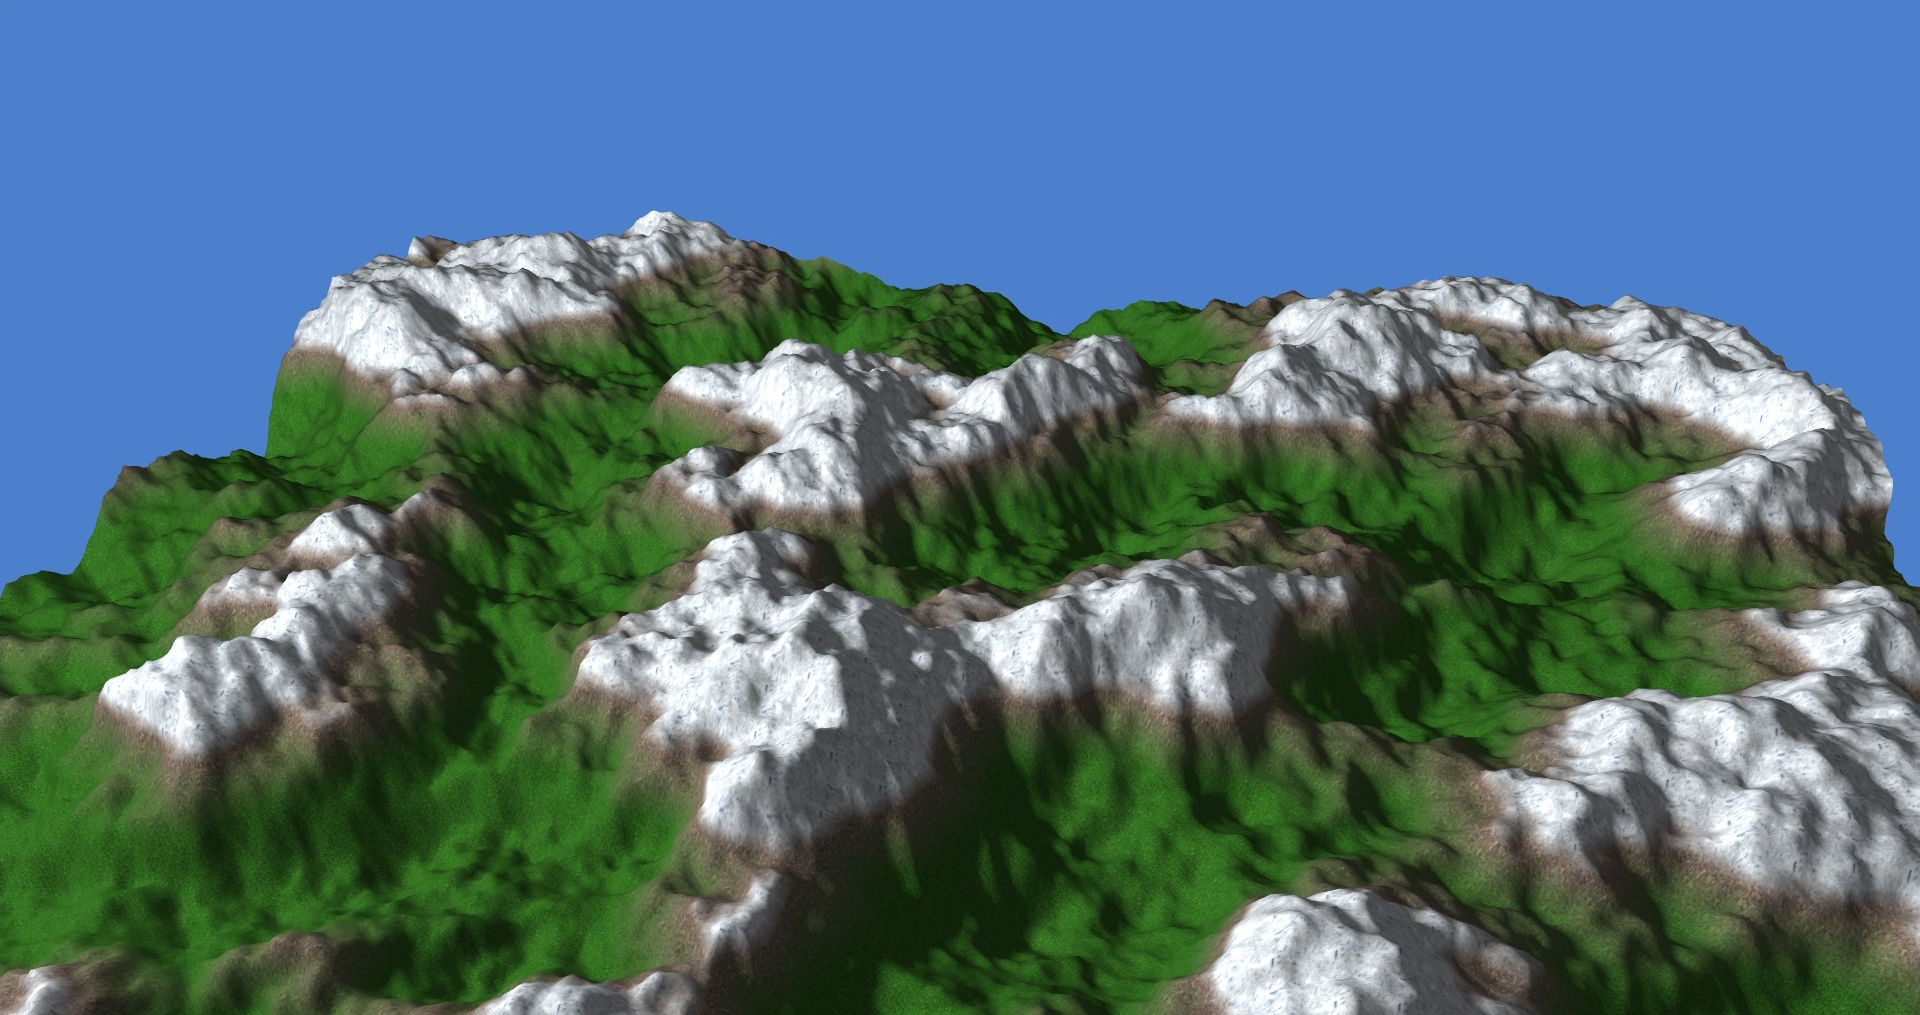
Using Perlin noise and height values to blend textures together, the terrain looked like this.
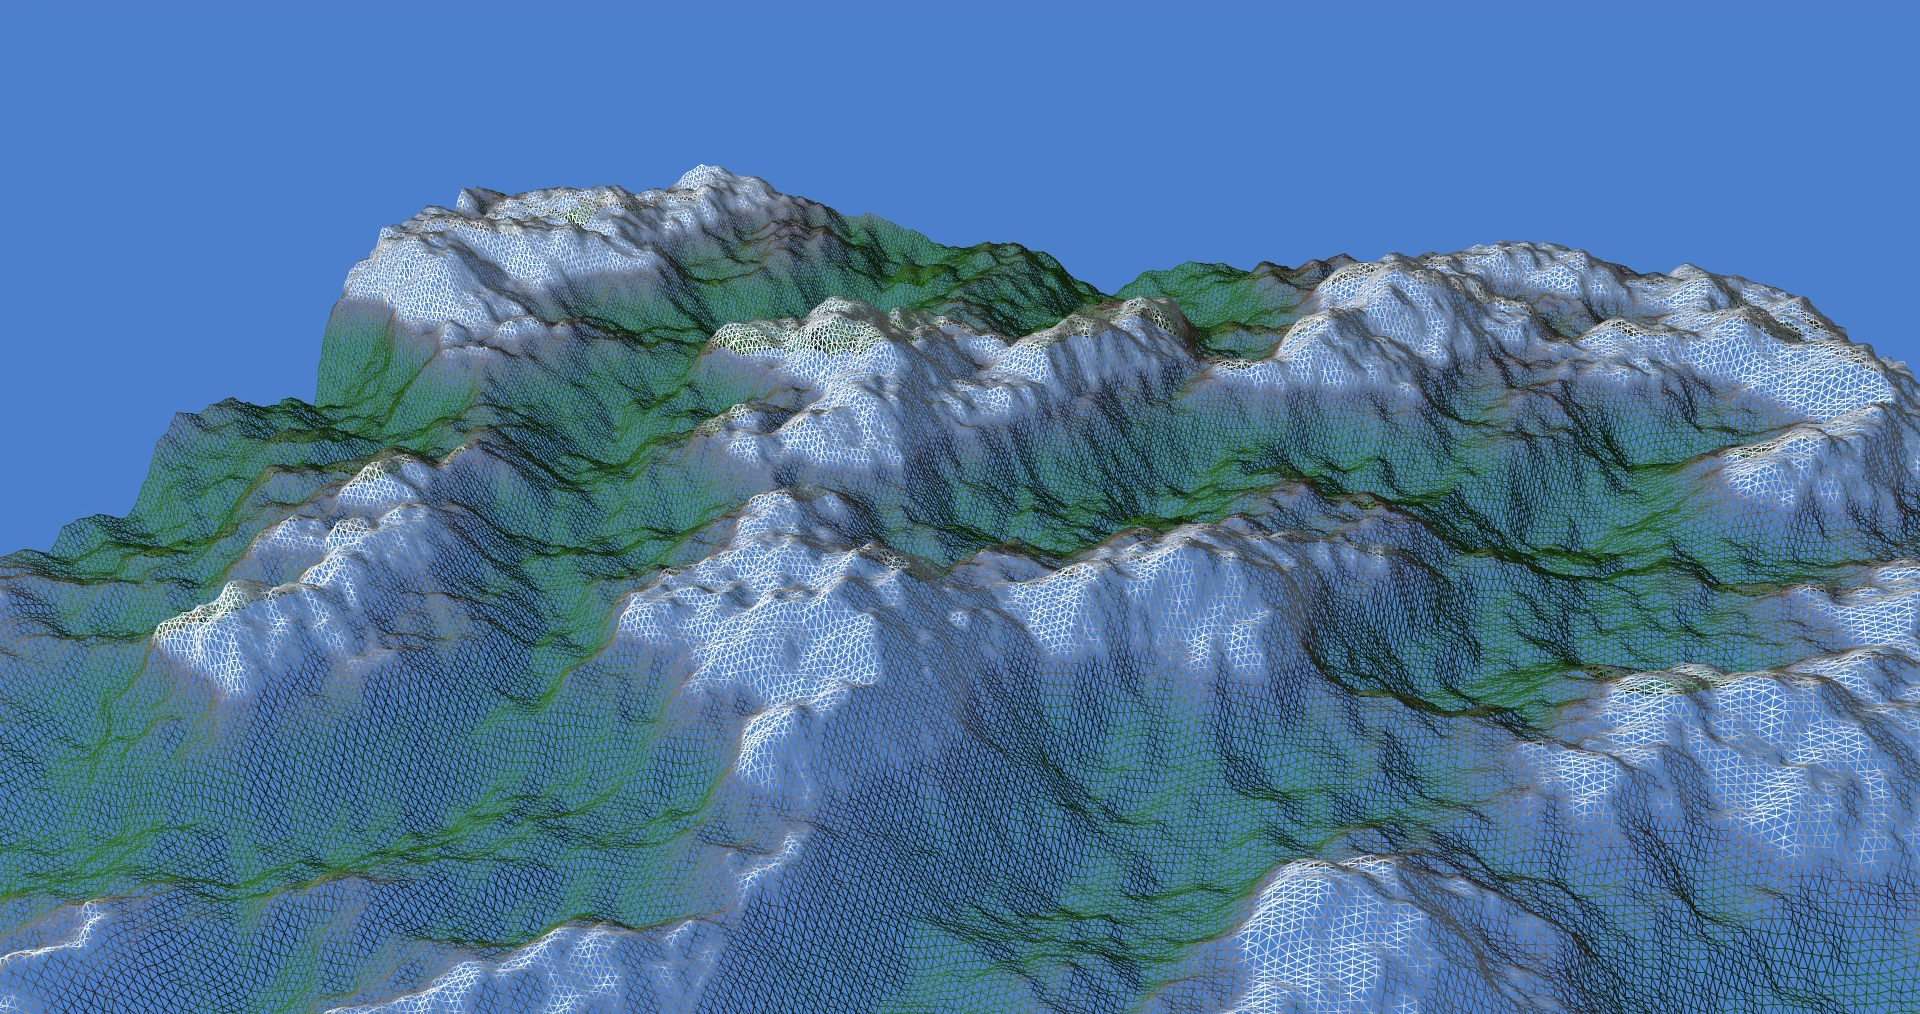
Wireframe view of the scene.
Random Terrain Rendering with Tesselation
Now that the scene had thousands of vertices, the frames per second started to drop and an optimization was in order. The next logical step was to learn about Tesselation Shaders, how they worked and how to change the tesselation level dynamically with distance to the camera and to only render patches that were in the view frustrum of the camera. This time I used a heightmap to generate the terrain.
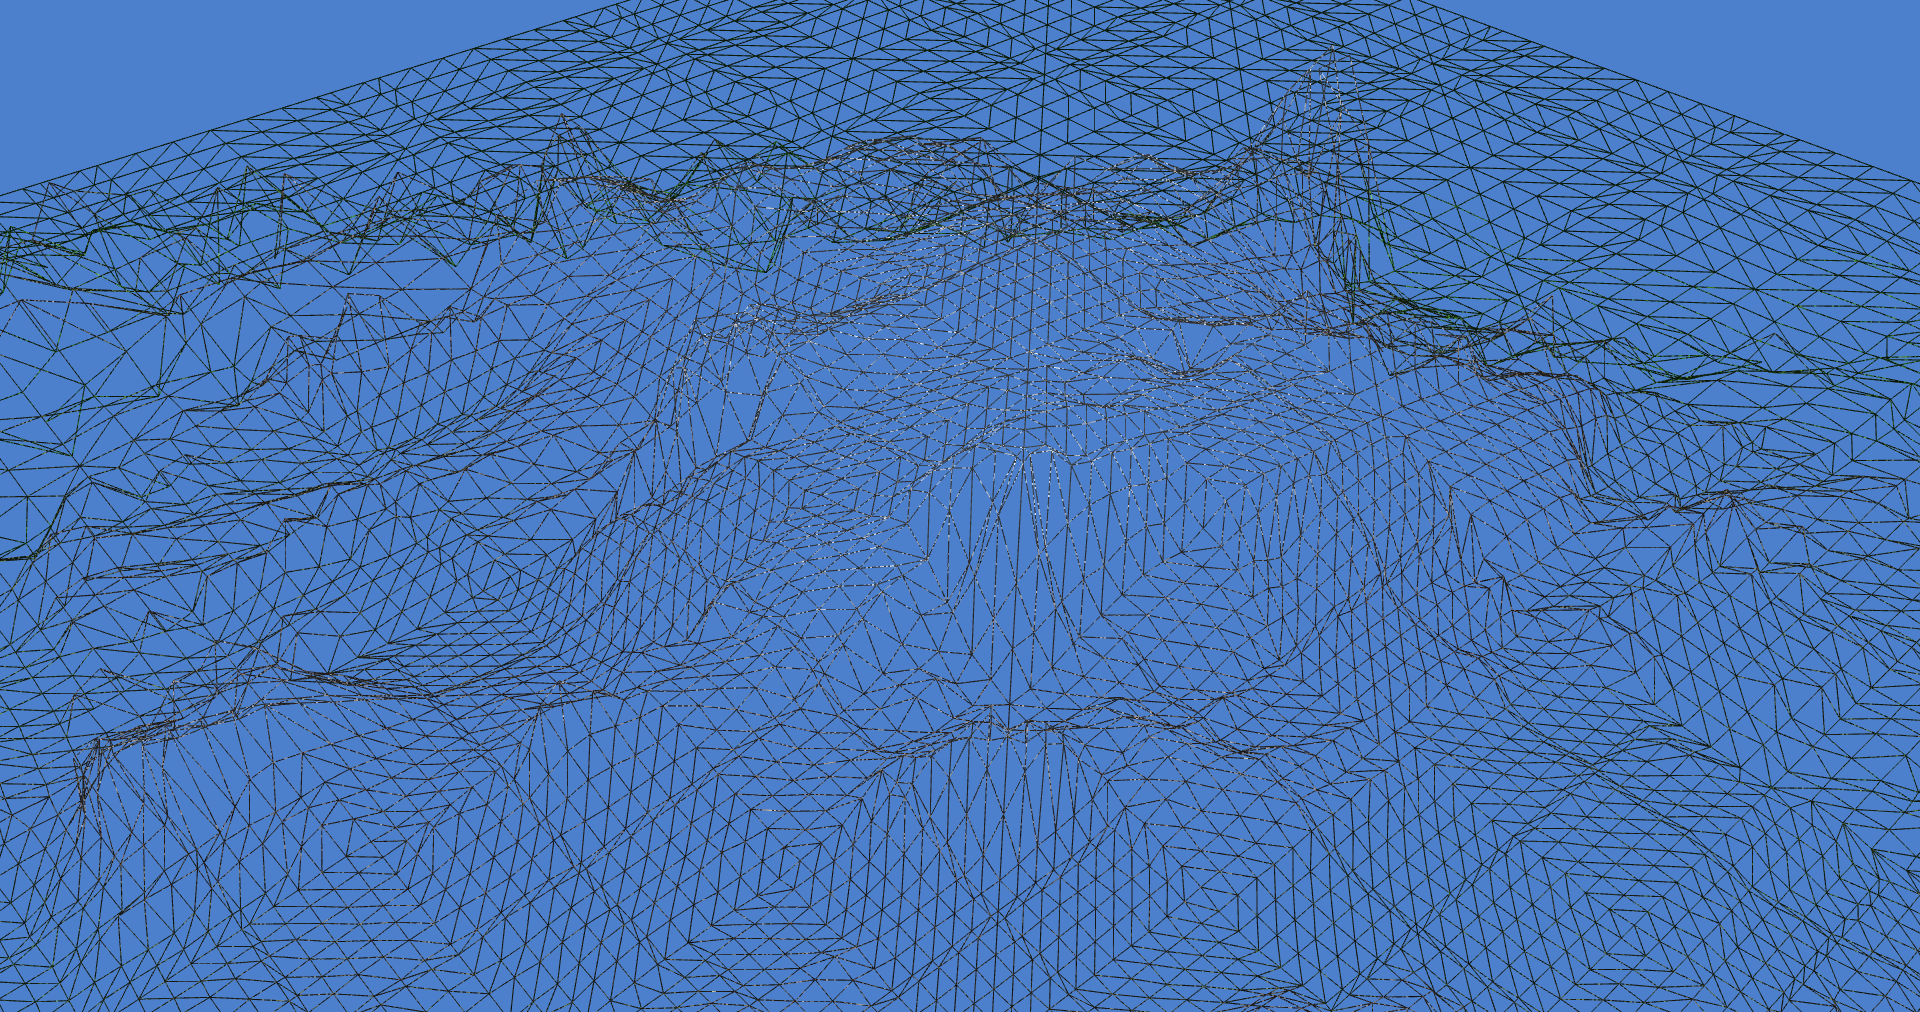
Wireframe view of the scene where the distant patches have less vertices
Using exagerated values for minimum and maximum distance, we can clearly see the dynamic tesselation happening.
Shadow Mapping
Now that I knew a bit more about the rendering pipeline, I decided to learn a bit more about shadow mapping. For that I created and used the depth buffer to render a depth map from the light perspective to know which objects were in direct contact with that light and which ones were hidden. With this data I was able render a shadow easily. I also took the liberty to implement a shadow aliasing method called PCF (Percentage-closer filtering) to produce a gradient of darker colors to avoid jagged edges in the shadows.
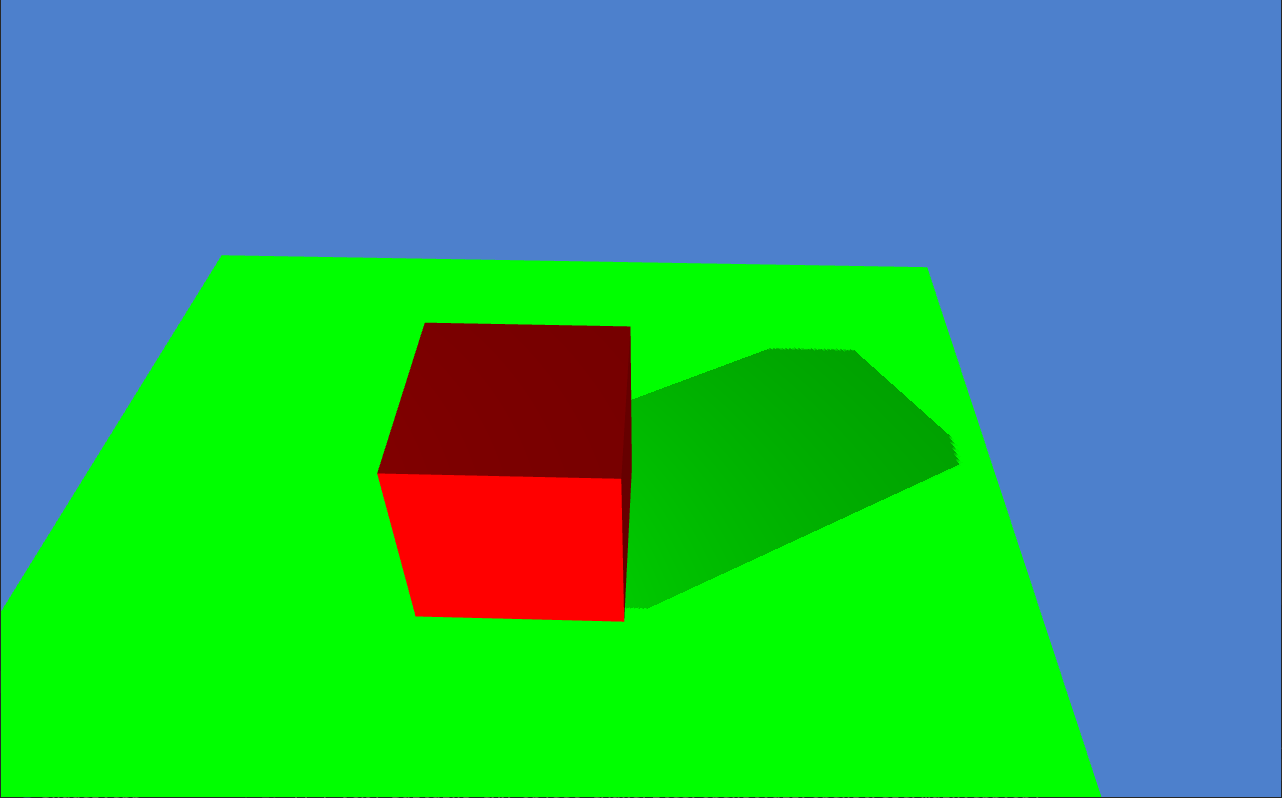
Here we can see the scene that renders a shadow from a distant light source.
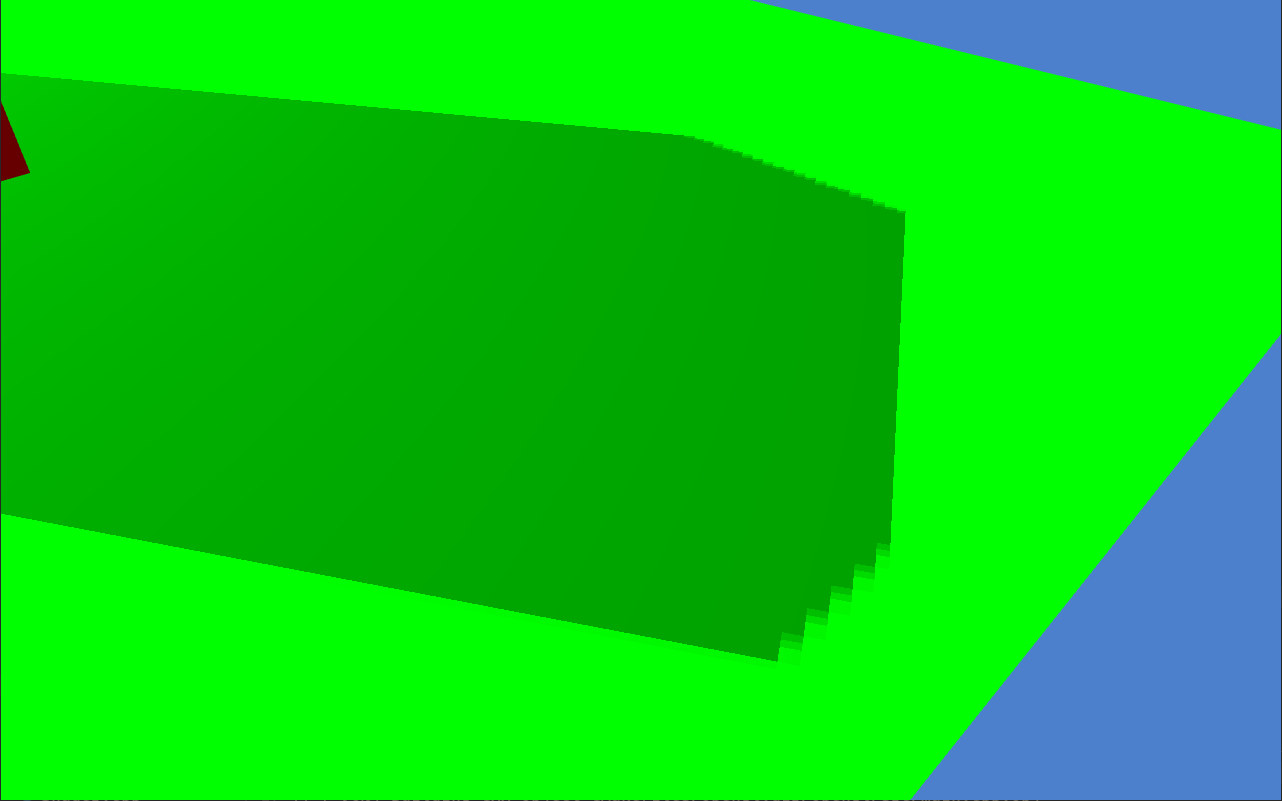
A closer look at the edge of the shadow with PCF.
Final thoughts
This project is just the beginning. I have learned so much and had so much fun I decided to keep pursuing knowledge on Rendering. In the meantime have started to study basic rendering techniques such as Forward and Deferred rendering, post-processing, Physics-Based Rendering and decided that my next project is to create a simple Ray Tracer.